Did you miss Part 1 of my Makeup Area Makeover? Click HERE to get caught up on More Storage!
The next step in my makeup area makeover was to spice things up a bit. I decided that I would like to display my nail polish collection on a tiered rack. They were previously being stored in a drawer where they were all laying sideways, banging against each other and it was impossible to find the color I wanted. I really wanted a tiered storage rack to display them but didn't want to spend the $30 that places like Amazon charge for a tiered nail polish rack. Again, YouTube DIY to the rescue! I saw this awesome video on how to make your own nail polish rack for cheap! I thought it was a great idea but I wanted something a little more sturdy because I am super clumsy and I could already see myself bumping the rack and sending all my polishes flying. I saw this three tier skid-resistant spice rack at Bed Bath and Beyond for $5.99 and decided to pick up two. However, I know you can get the wire version shown in the video from Walmart for around $3.50.
 |
| Three tier spice rack, $5.99 |
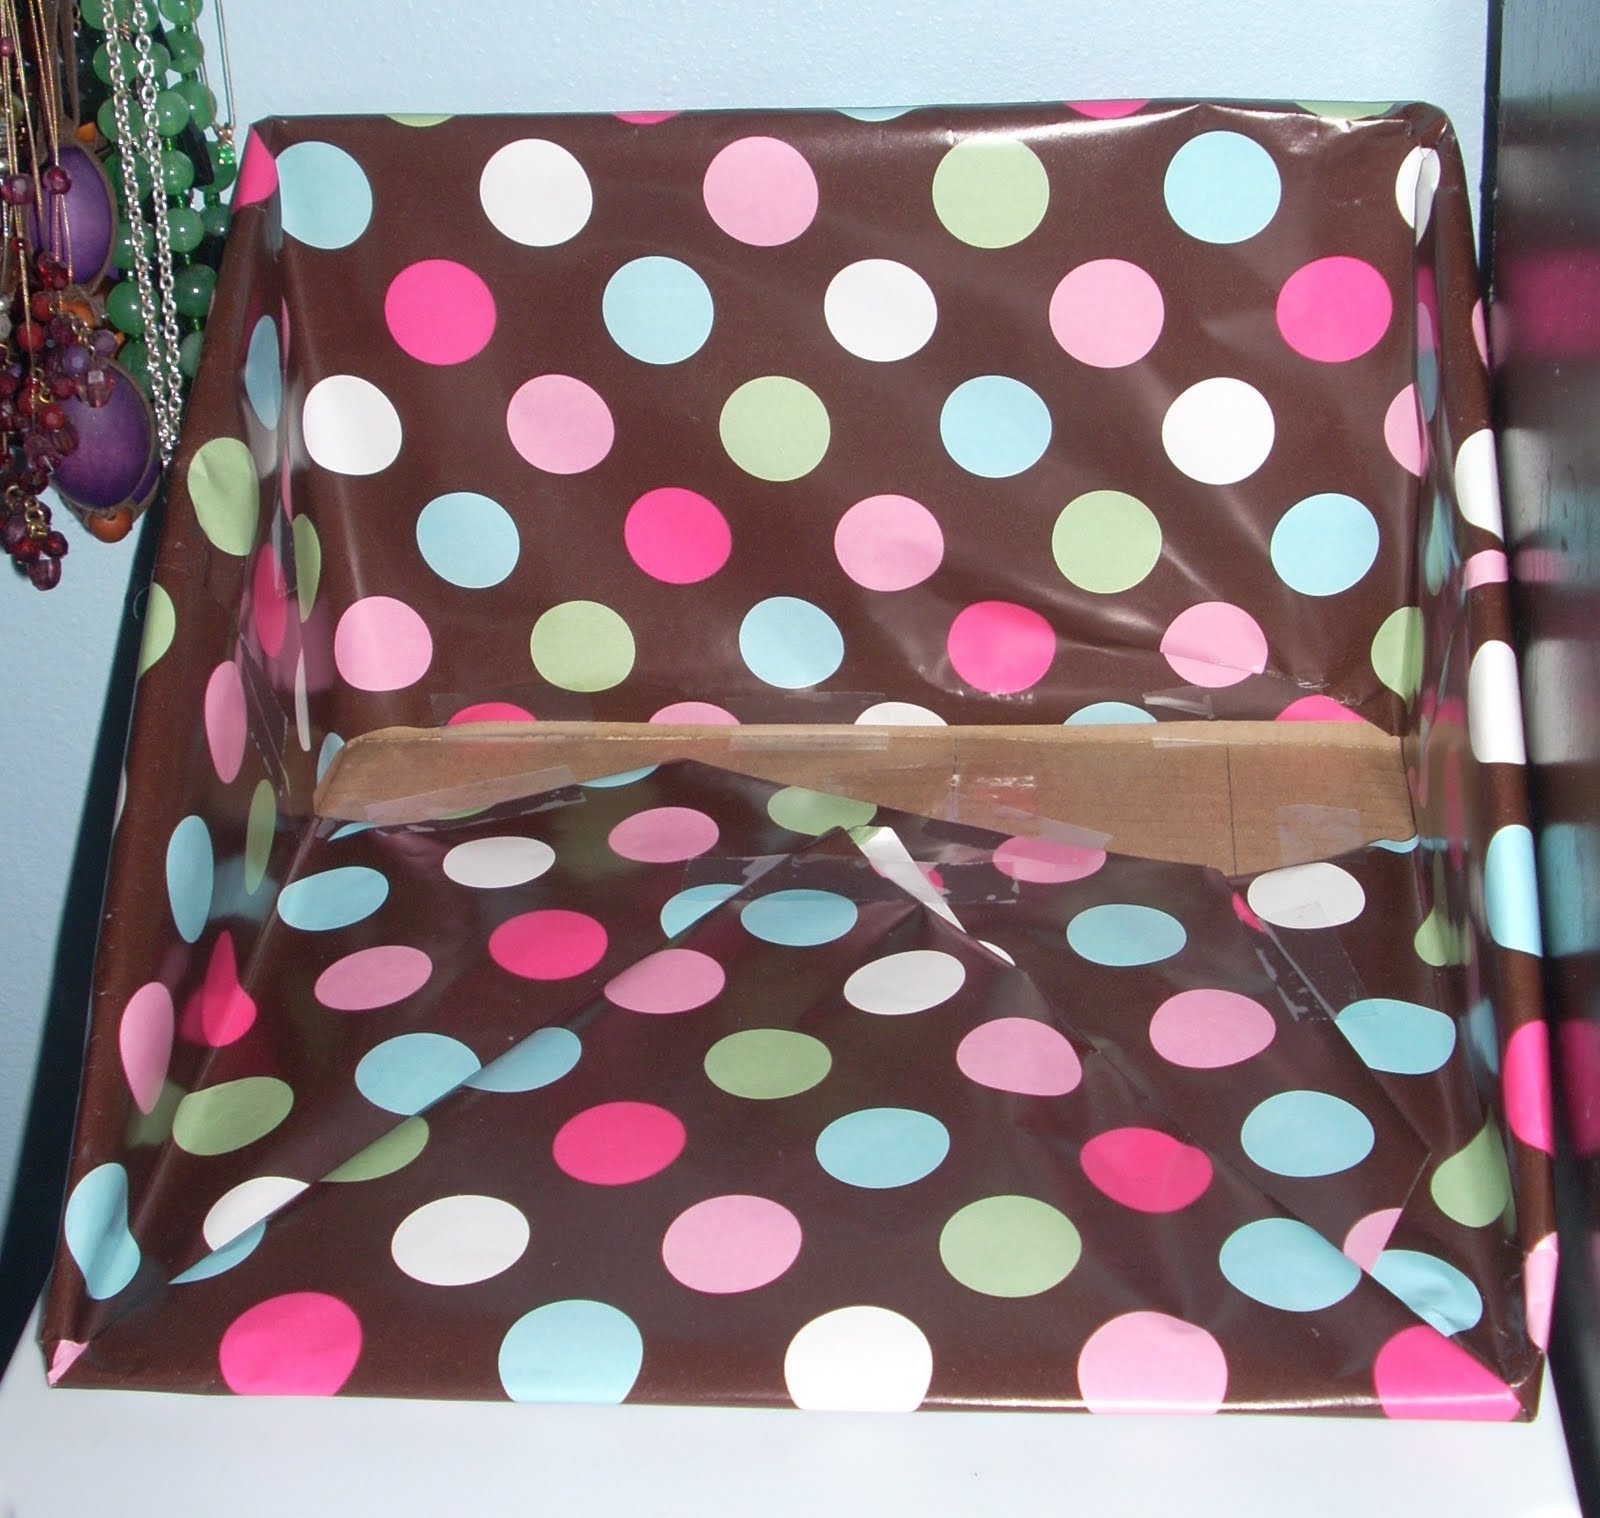
But knowing that I am absurdly clumsy, I wanted even a little more protection for my items so I also purchased a shipping box from Walmart for around $0.50 to make a little home for the spice racks. This way, the spice rack would have side and back walls. The box was 12" X 12" X 10.5" so it wasn't quite the right size. I just cut it into two pieces horizontally so I had two short boxes (one for each spice rack) and then cut and retaped the box to make a perfect shape to fit the spice racks. I also made the sides angled to fit the tiered look of the spice rack. Then I covered the boxes in some cute wrapping paper. Here's what it looks like!
 |
| Box, front view |
 |
| Box, side view |
 |
| Spice rack in the box |
I decided to use one for my nail polishes and the other to hold my self tanners and some decorative items. I really like the way they turned out and you could obviously just buy the spice racks and not worry about making boxes to house them. I also like that I have room to grow my nail polish collection if I want to, as each tier could hold two rows of polishes. |
| Nail polishes are easy to see now! |
 |
| Super cute! |
Now I can easily see all of my nail polishes and I don't have to worry about them breaking from smacking against each other. On the other rack, I have all of my self tanning products easily displayed, as well as my two cute palettes and some stuffed animals for decoration. I love it! Part 2 complete!Click HERE to see Part 3 of my Makeup Area Makeover: Pink Accents!


0 comments:
Post a Comment