First time on a film shoot! (Picture heavy)
Monday, March 28, 2011
I briefly explained a little about the student film shoot I did makeup/costume/hair for last weekend in my previous post, but I thought it would be fun to make a separate post of the pictures I took during it. I wasn't able to get many great shots of the makeup unfortunately (the girl I worked with had an amazing Nikon that blew my camera out of the water! haha. And I couldn't get the lighting quite right). I did, however, manage to take pictures of the crew doing their jobs behind the scenes! This post will be a little non-makeup-related, but I hope it's at least a little interesting for you. :)

The set-up for filming is a long process. It took at least two hours for us to be completely ready every day. The lighting was really impressive- you can pretty much make any effect with the right type of light.
This is the actress that played the mom; she has really curly, thick, deep red hair that we straightened. In this scene, they used lighting effects to make it look like candles were flickering in her face.

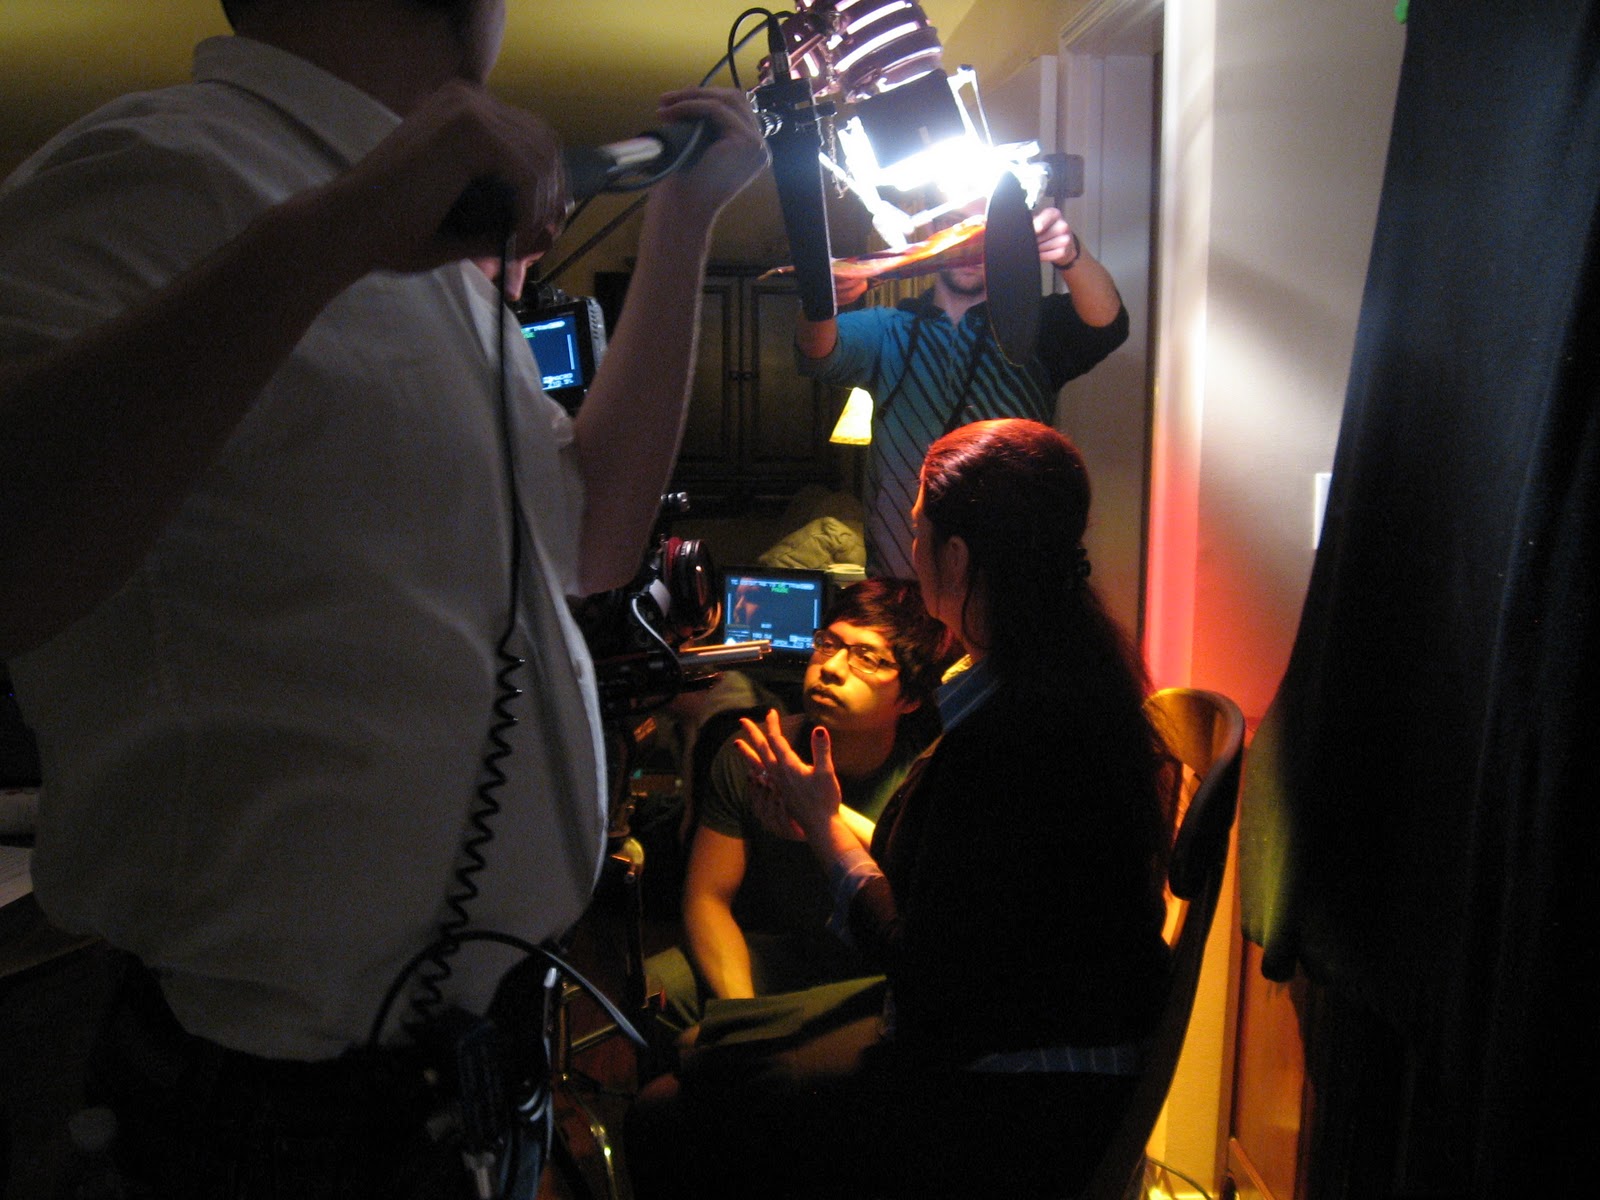
The lighting guys set up a nice spotlight in our "makeup room" for the scenes we shot at the house. It was really nice and felt professional. My best friend (sitting; she was also the main actress) said she felt like a movie star, haha.

We had to make this guy look like a stoner! He's pretty clean cut normally, so we used purple/mauve/nude cream eyeshadows and powder to make dark undereye circles. Unfortunately I didn't get any good pictures of his makeup, but the girl I worked with did an amazing job. This was his hair that we dyed. We added hair gel to make it look greasy.


We had to make a head wound, so we mixed corn syrup with water and added red food dye. We made two containers of it, one a thicker consistency and one thinner. The thicker one we used at the base of the "injury", and then rolled bits of cotton (from q-tips) into it to make the "flesh". The thinner "blood" was used around the outside of the "wound", and then rolled onto the outer parts of his hair. I think it turned out pretty good!

This was the only makeup picture I took that really turned out. I didn't have a lot of time to take pictures after I finished makeup, unfortunately.
I hope I was able to share at least a little of the excitement of working on this set with you all! Thanks for reading. Expect lots of reviews to come- I'm currently testing out several different things!
<3
0 comments:
Post a Comment